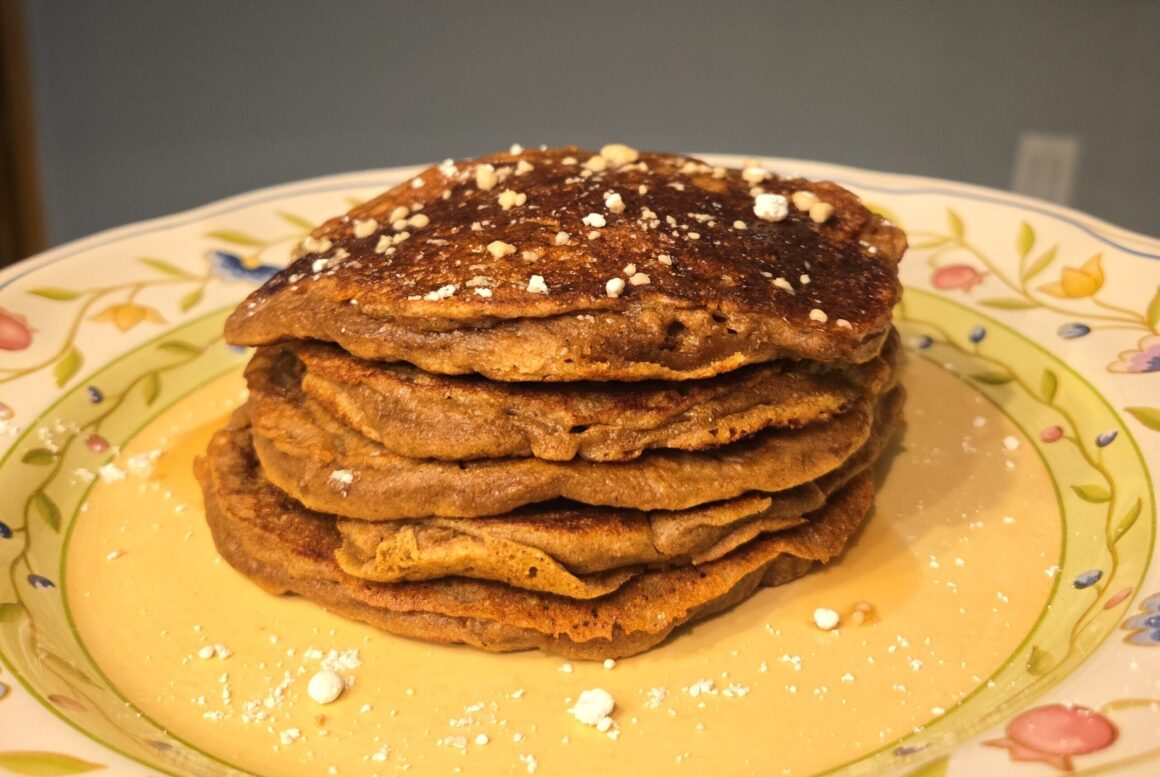
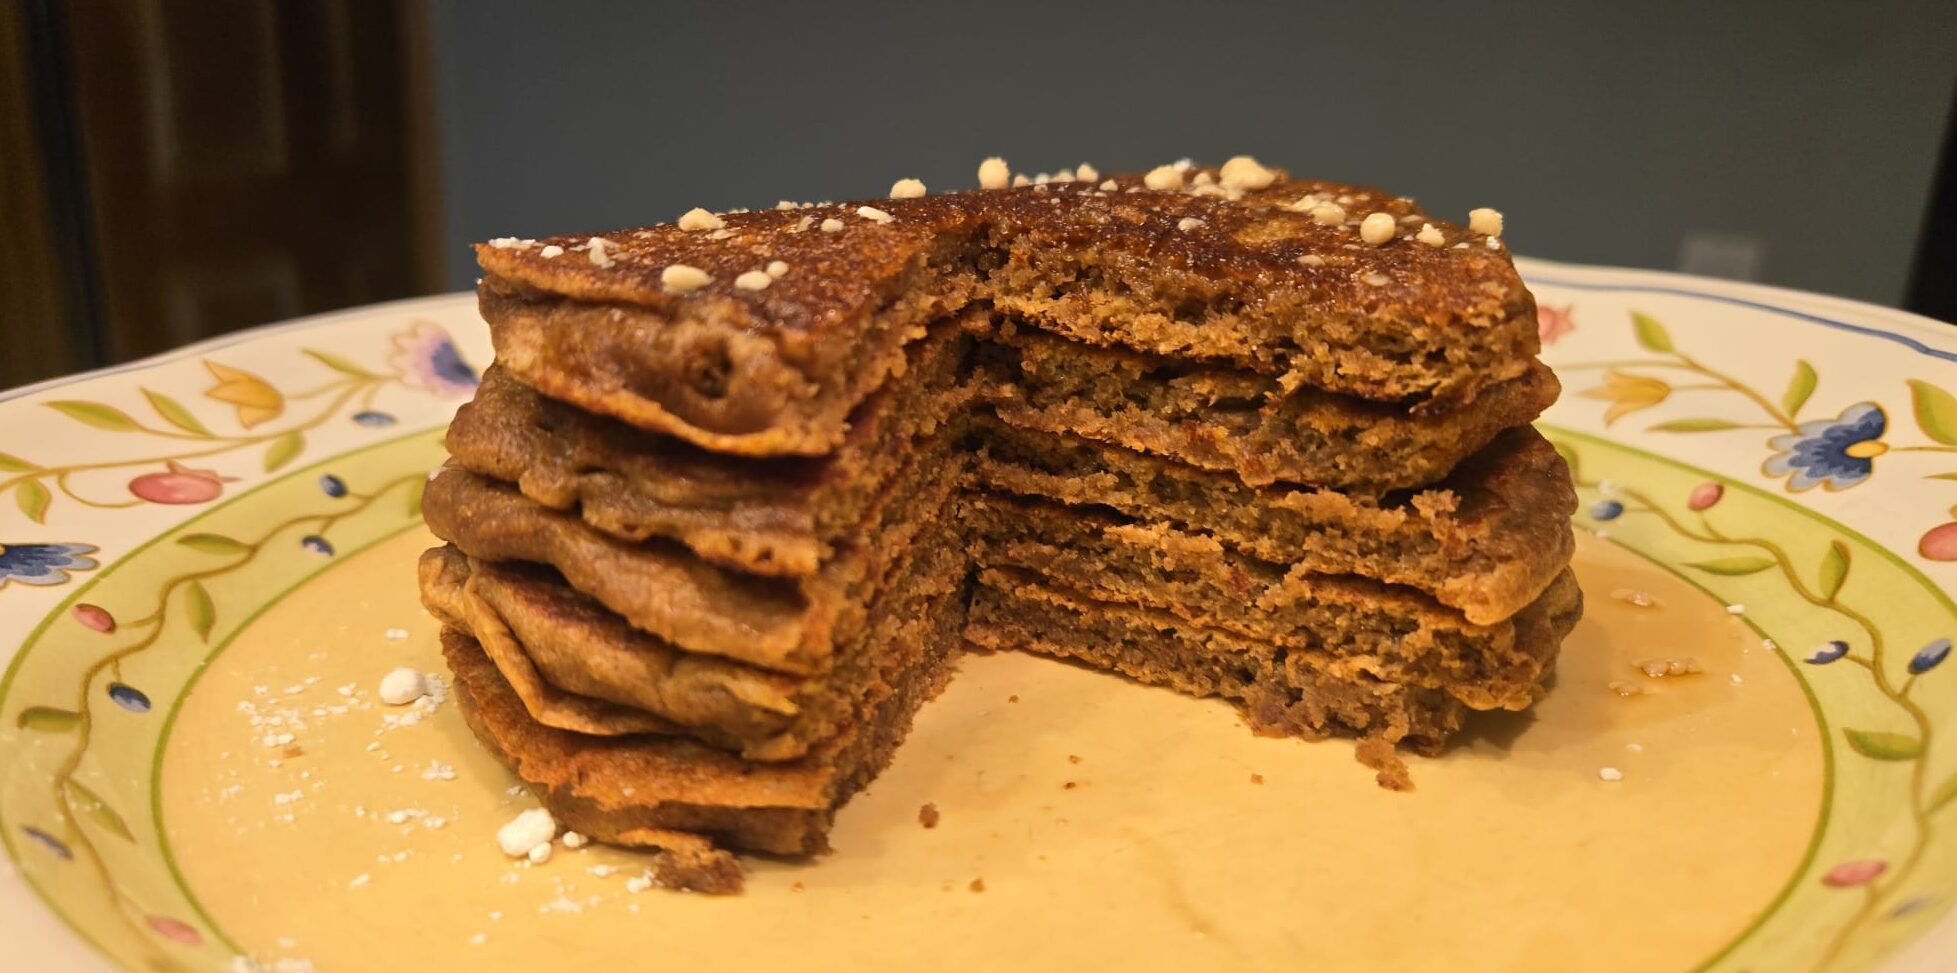
Time to feel some buzz with recipe #13.
The majority of adults globally drink coffee one way or another. But what if you could get your daily dose of caffeine with your own breakfast? So here we have a mildly sweet yet fulfilling breakfast recipe that does just that, with modest calorie and protein standards that’ll keep you satisfied for hours!
Time to charge up, shall we?
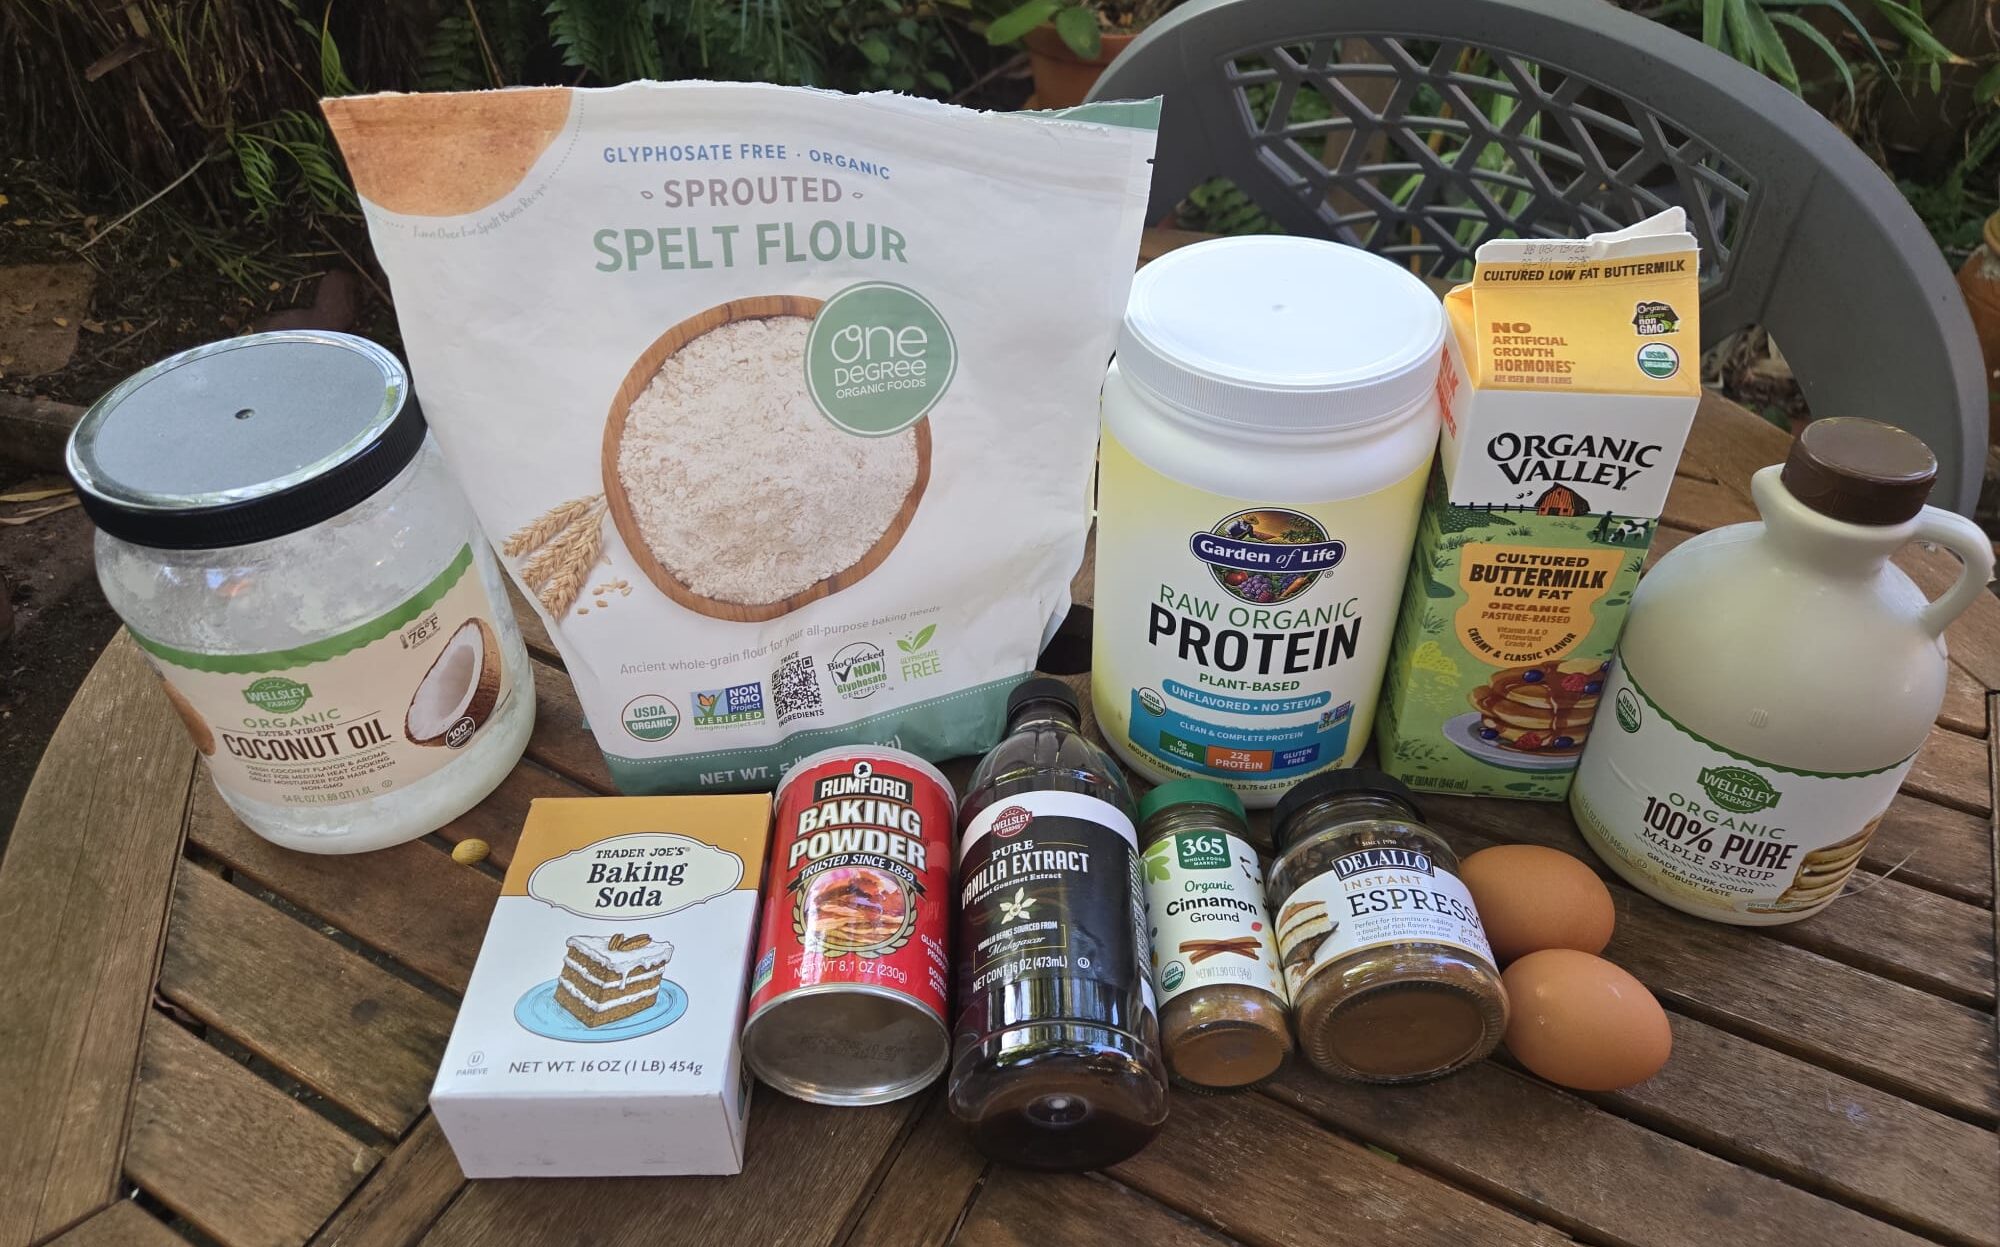
Ingredients
Makes ~15 pancakes.
Batter
- 250g whole grain (spelt) flour
- 50g protein powder of choice, see note 1
- 3/4 tbsp (11g) baking powder
- 1 tsp (6g) baking soda
- 1 tbsp (8g) cinnamon powder (optional but recommended)
- 1/3 tsp (2g) salt
- 2 eggs
- 2 tbsp (12g) instant espresso powder
- 2 tbsp (30ml, 28g) coconut/neutral oil
- 50g maple syrup/honey
- 1 tsp vanilla paste/extract
- 2 cups + 3 tbsp (520mL) buttermilk
- Cooking fat of choice, see note 2
Note 1 – Protein powder options:
- Unflavored or vanilla flavored protein powders are ideal
- Favorite combo: half vegan protein powder + half collagen peptides powder
- No protein powder available? Simply use flour instead!
Note 2 – Cooking fat options:
- For fried-like surfaces (about ½ tsp or 2g per pancake):
- Favorite: Ghee (ideally salted & grass-fed)
- Butter
- Any neutral oil
- For picture-perfect uniform surfaces:
- Cooking spray
Required Utensils
Chances are that you already have most of what’s listed below. But as a student, I used to have basically nothing at hand, so all necessary items are listed below:
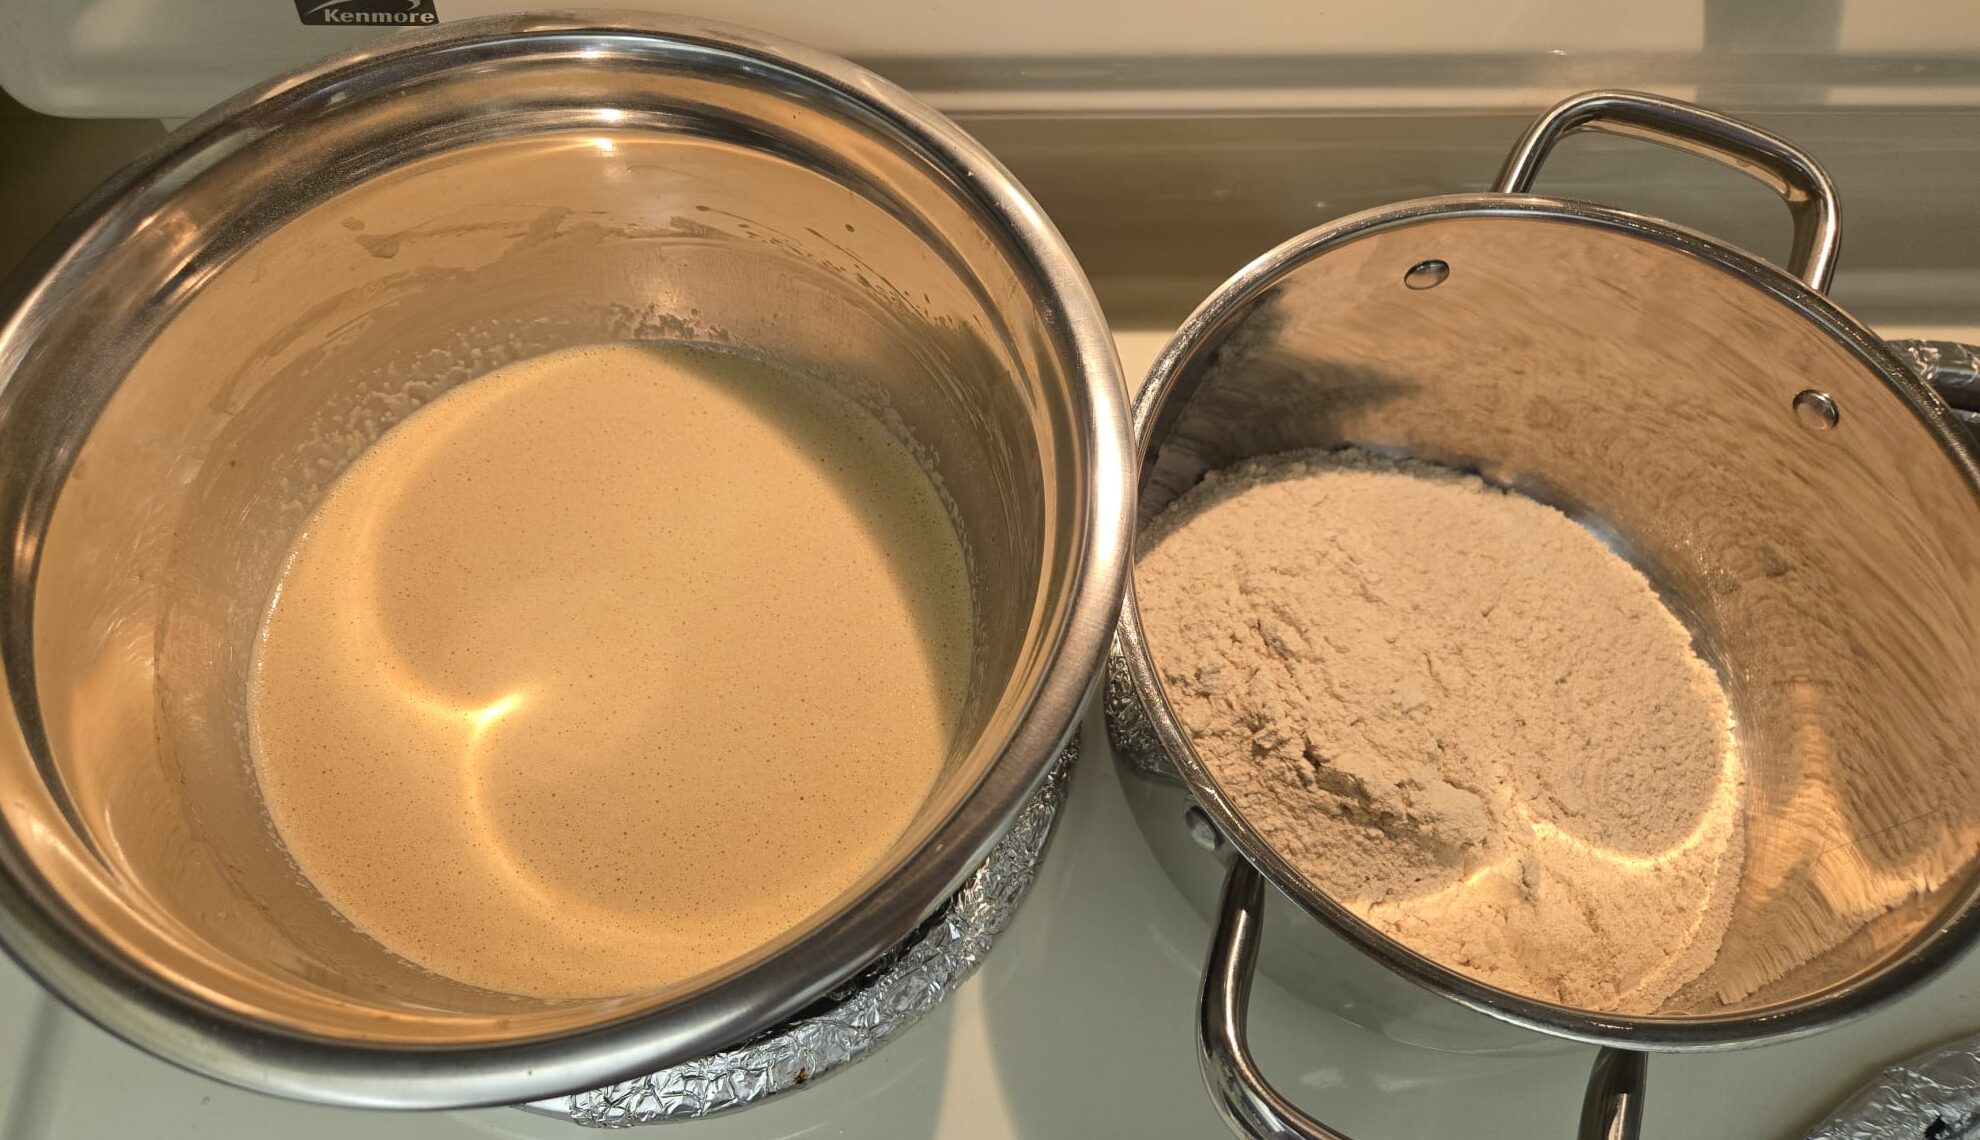
- Medium pot, to hold all dry ingredients (and then batter)
- Small pot, to hold all wet ingredients
- Weight scale, to measure ingredients (in grams)
- Or use measuring cups if handy
- Measuring spoons (at least for teaspoon measurement)
- Whisk, for initial mixing (can use spoon instead, but might take longer)
- Rubber spatula, for final mixing
- Scooping spoon, for accurately pouring batter for cooking (optional)
- Non-stick pan (or flat griddle), to cook the pancakes!
- Flat spatula, for flipping pancakes
- Tray/plate, to hold cooked pancakes!
Instructions
- In medium pot, whisk all dry ingredients till thoroughly combined. Set side.
- In small pot, whisk all wet ingredients till thoroughly combined. Set aside.
NOTE: If using coconut oil, add in just before combining wet & dry ingredients, to avoid solidification before combining. - Form a well in center of pot with dry ingredients. Pour wet ingredients into dry. Using whisk and then rubber spatula, stir in wide circular strokes till almost combined. DO NOT over-mix. Small lumps are okay!
- Let batter rest for 10 to 30 minutes at room temp. More time = fluffier pancakes!
During this period:- Gather your pan(s), spatula, and tray/plate to hold cooked pancakes.
- Pre-heat your pan(s) at medium heat and have your cooking fat ready.
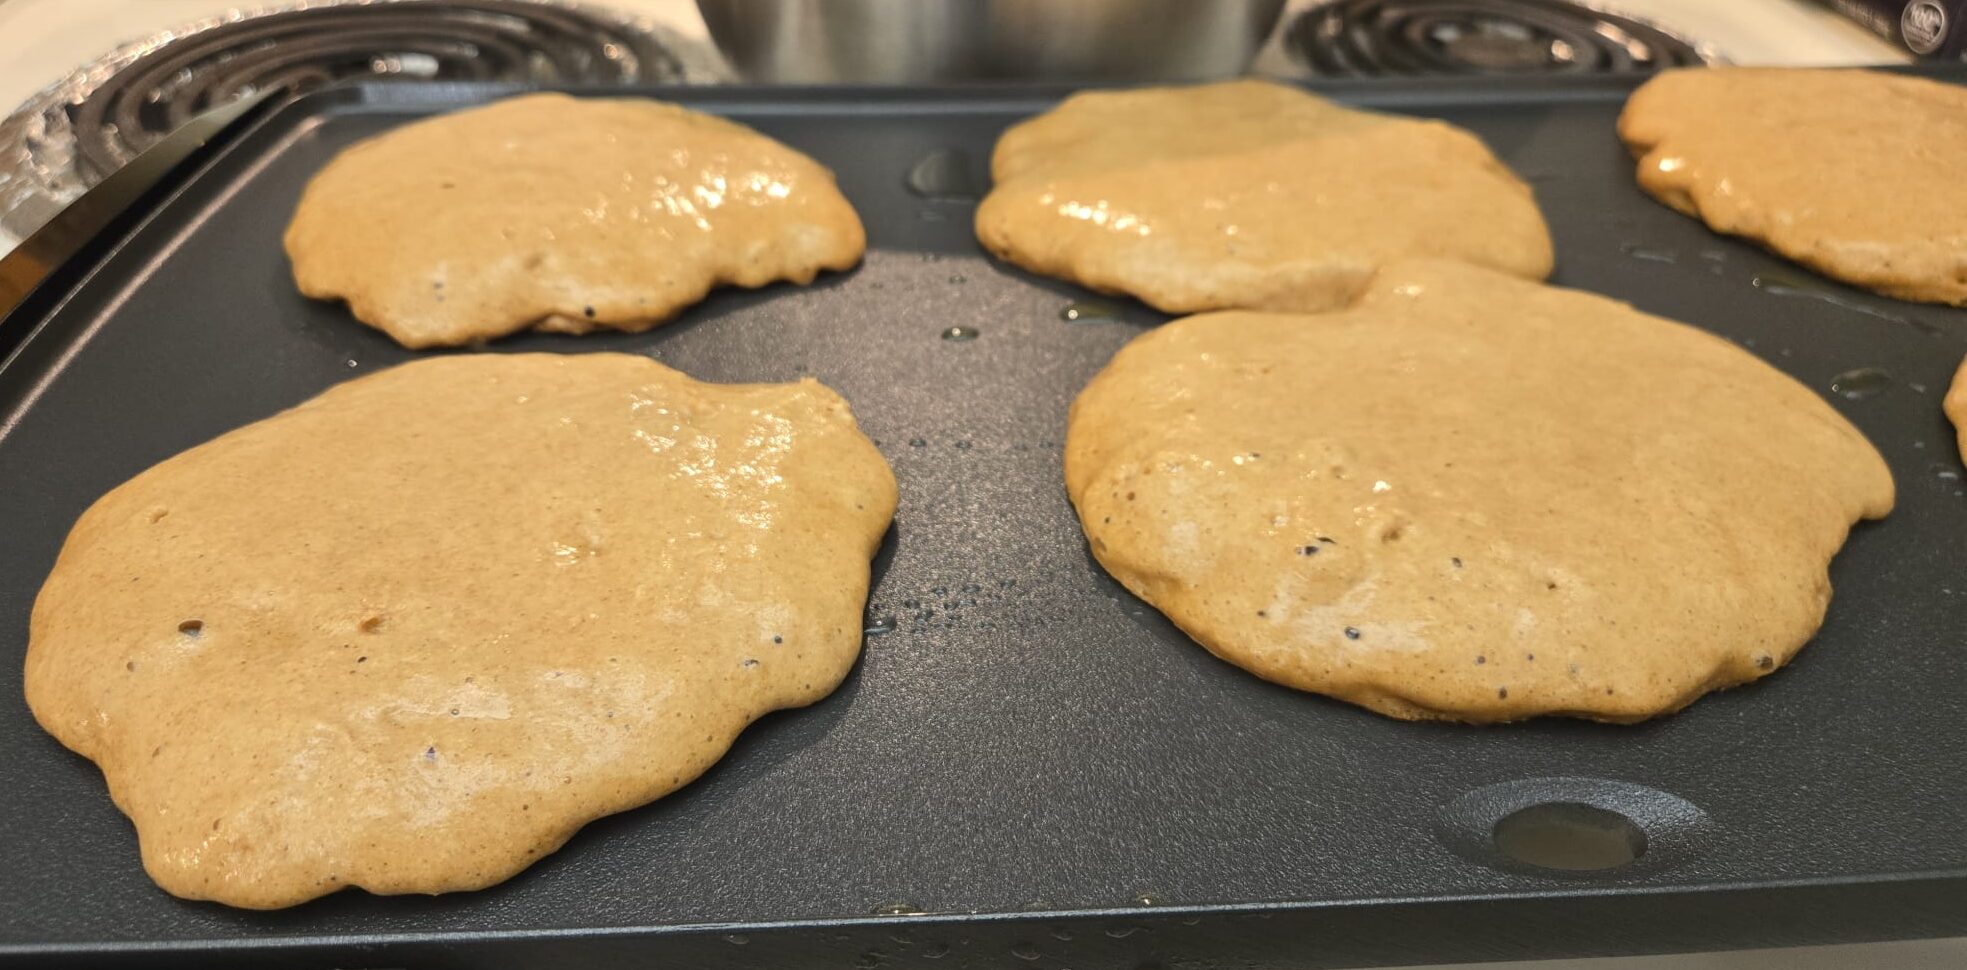
- Once pan(s) are warm (not hot), add fat to pan center, and add just under ¼ cup (60ml) batter to center. If using toppings (also see note below), add them now, clustered on surface & away from edges.
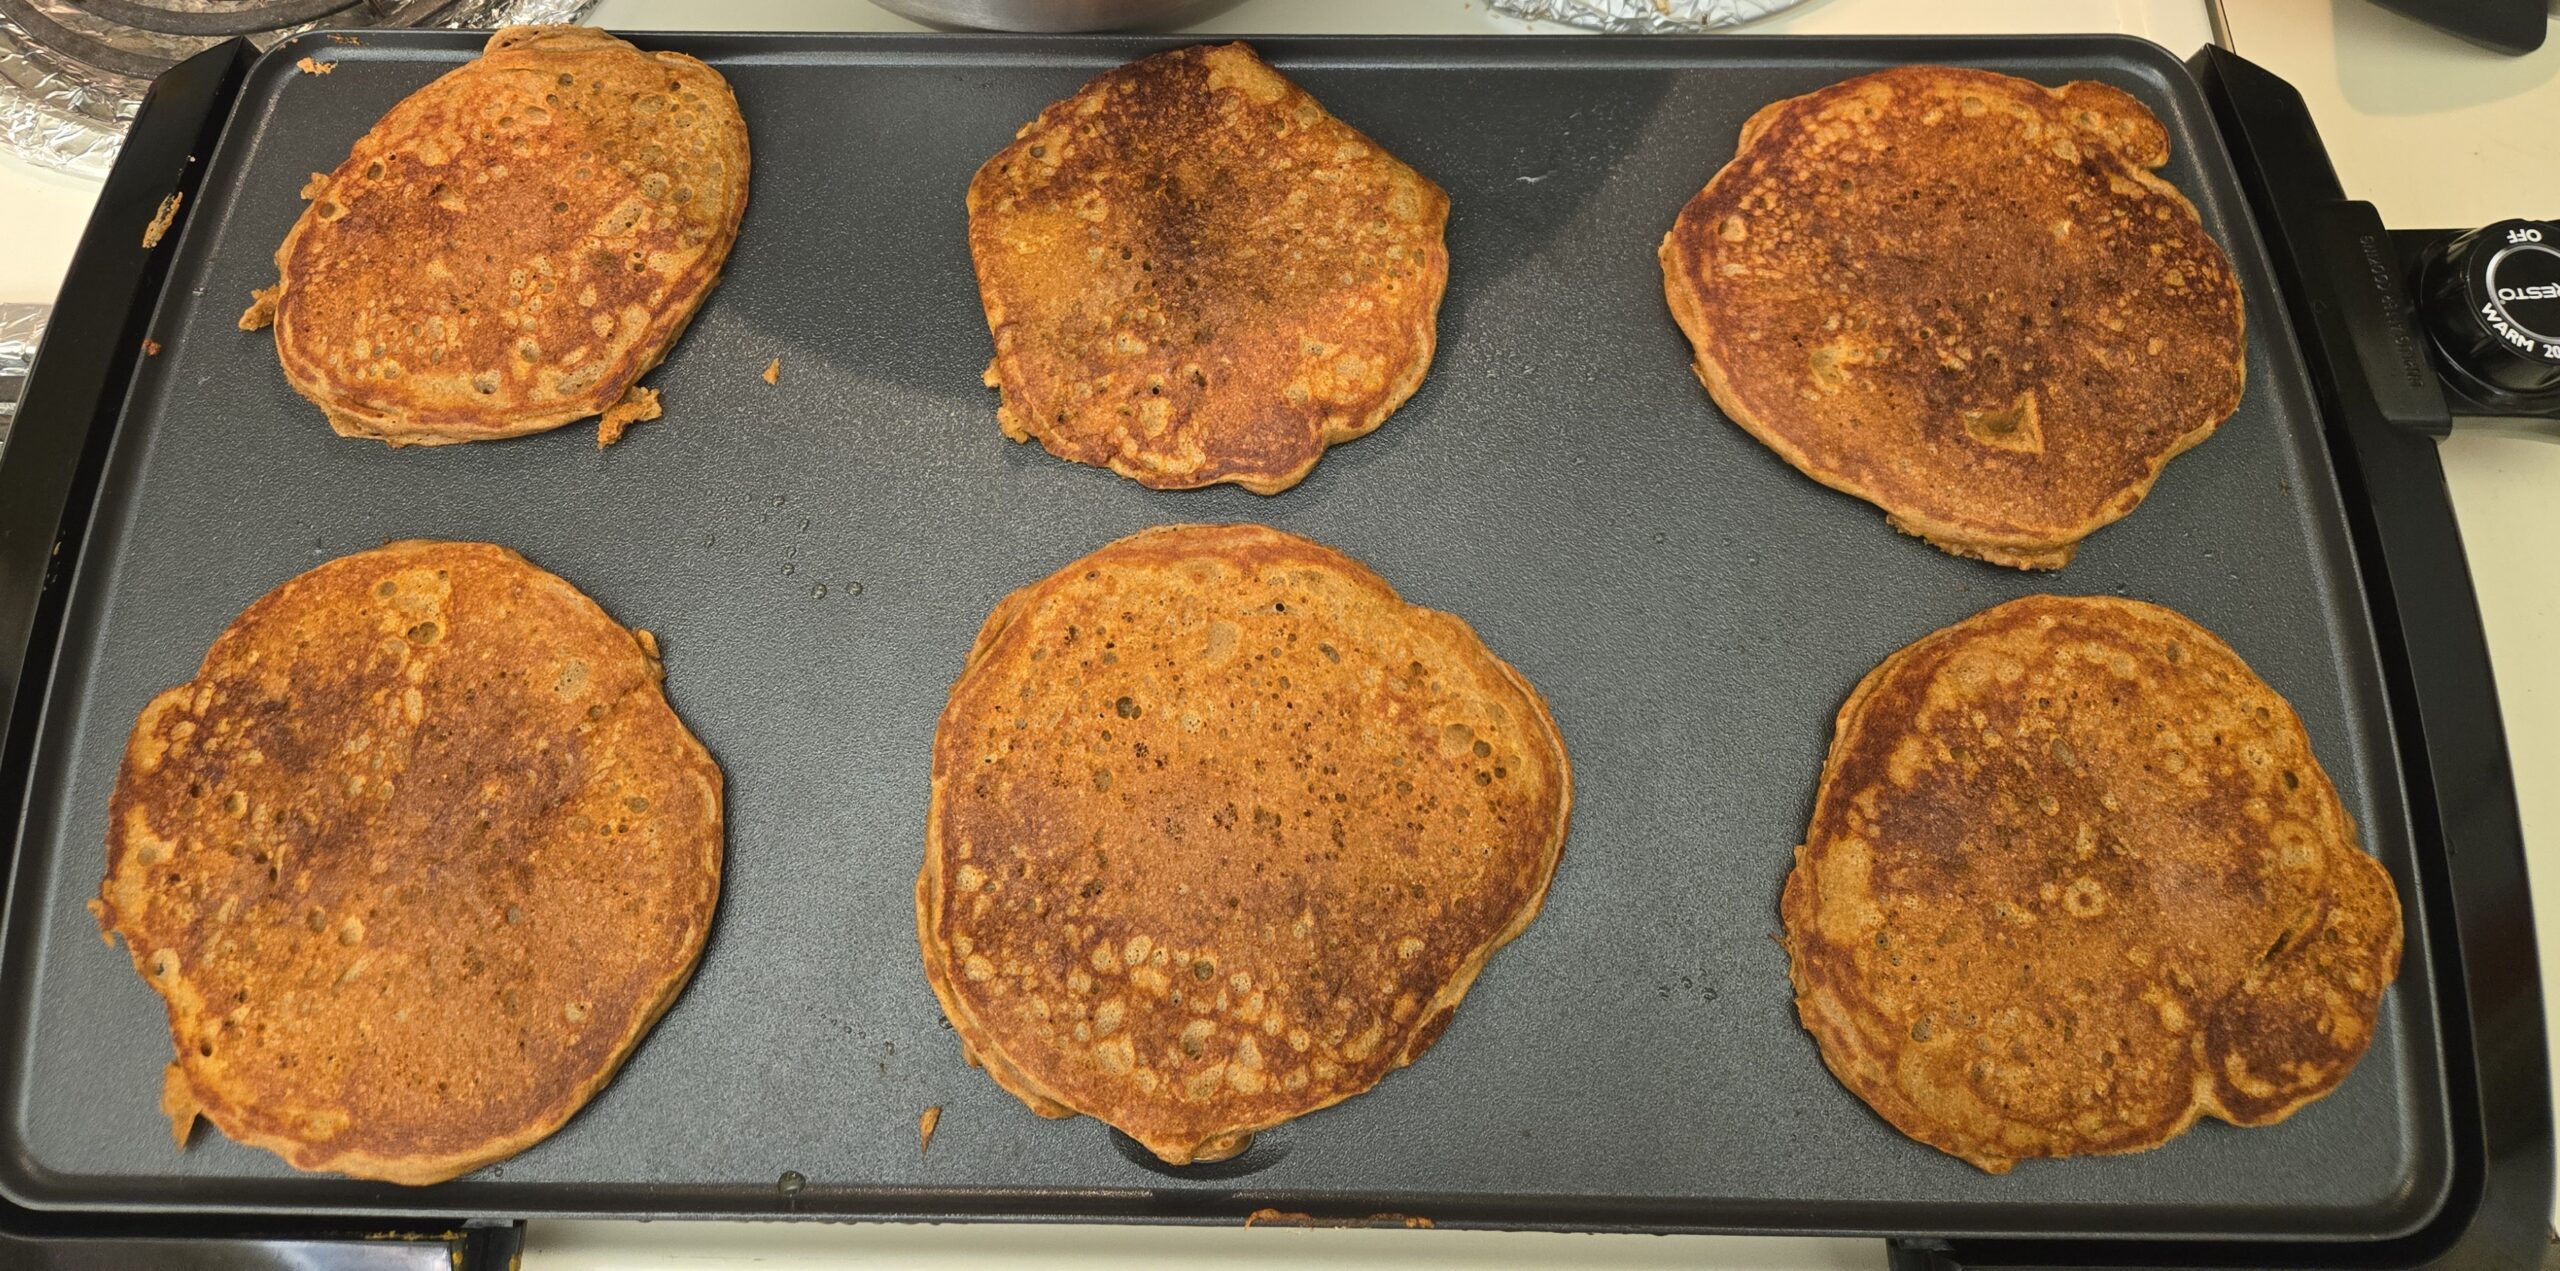
- Cook for 2-3 min, until bubbles begin to pop on top and edges are firming up. Flip pancake and cook for another 2-3 min till golden brown. Remove from pan.
- Repeat steps 6 & 7 with remaining batter. Enjoy!
A note on toppings
Here are the toppings I’ve tested, but feel free to experiment with whatever catches your eye!
- Chocolate chunks (dark, milk, and white all work great)
- Blueberries
- Sprinkled cinnamon powder
Make sure the topping chunks are not too large (<1 inch, or 2.5 cm in diameter), for the following reasons:
- To make sure the pancakes rise over them before you flip (otherwise they may burn later)
- To reduce the risk of them sticking to the pan after flipping
Serving
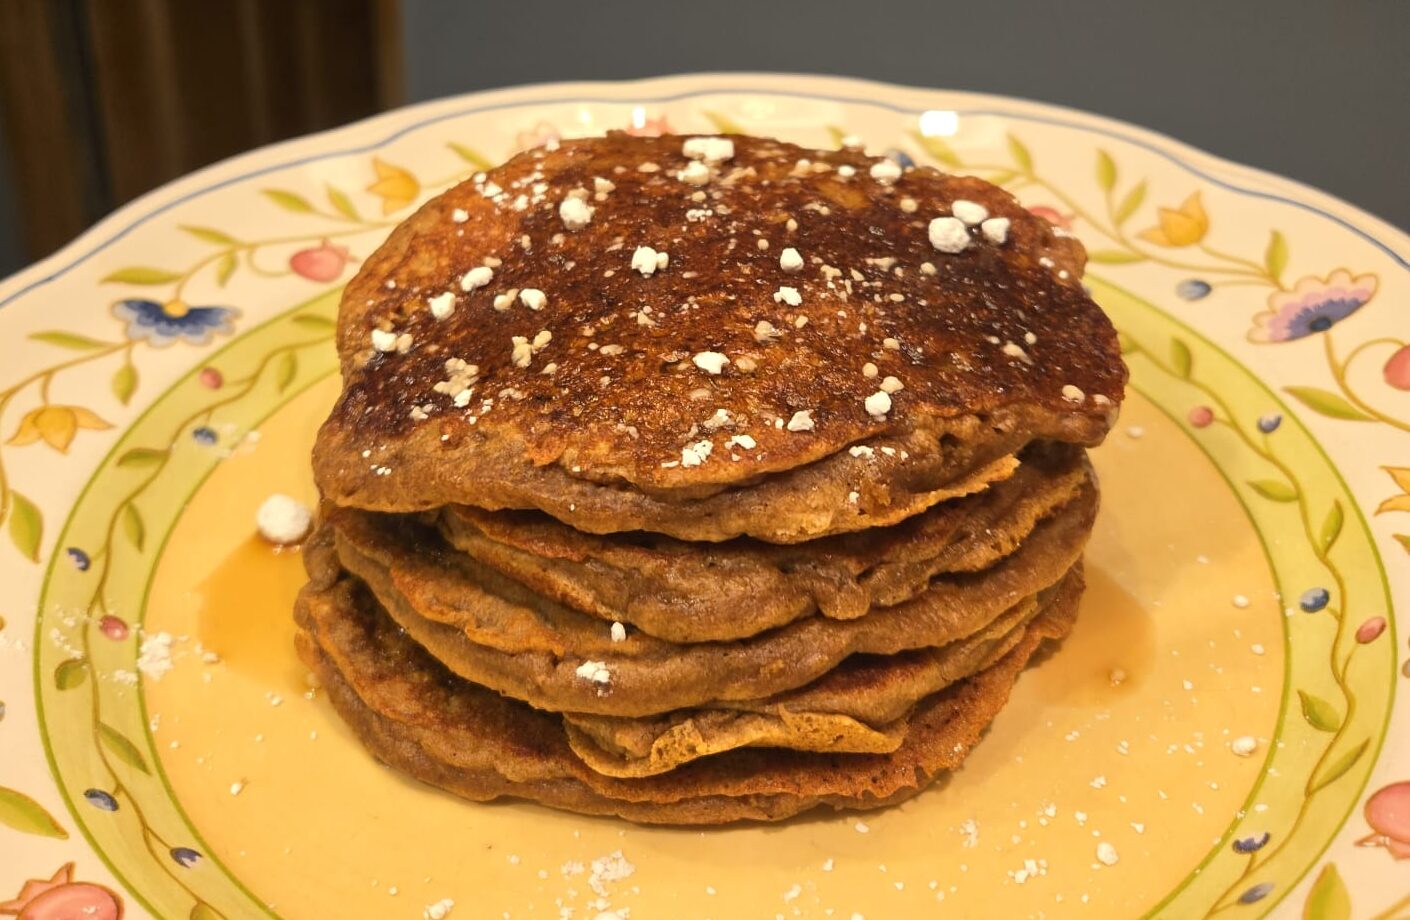
To pour on
- Maple syrup
- Honey
- Pancake syrup of choice
To spread on
- Any nut butter (ideally salted): almond, cashew, mixed nut, peanut, etc.
To top off
- Powdered sugar
- Powdered cinnamon and/or nutmeg
- Walnuts/pecans (whole or chopped)
- Crumbled brown sugar
- Butter
- Whipped cream
Storage
Packaging of choice
- Ideal for fridge: Plastic/glass air-tight containers
- Ideal for freezer: Wrapping 1-4 pancakes in plastic wrap or aluminum foil, then place in air-tight plastic bag
Shelf life
- Fridge: 5 days
- Freezer: 3-6 months (best quality, assuming temp below 0°F/-18°C)
Got any questions or suggestions? Comment down below!
First posted on Aug 18, 2026.
Last updated on Aug 19, 2026.