")
Now we have recipe 1010 (=10 in binary).
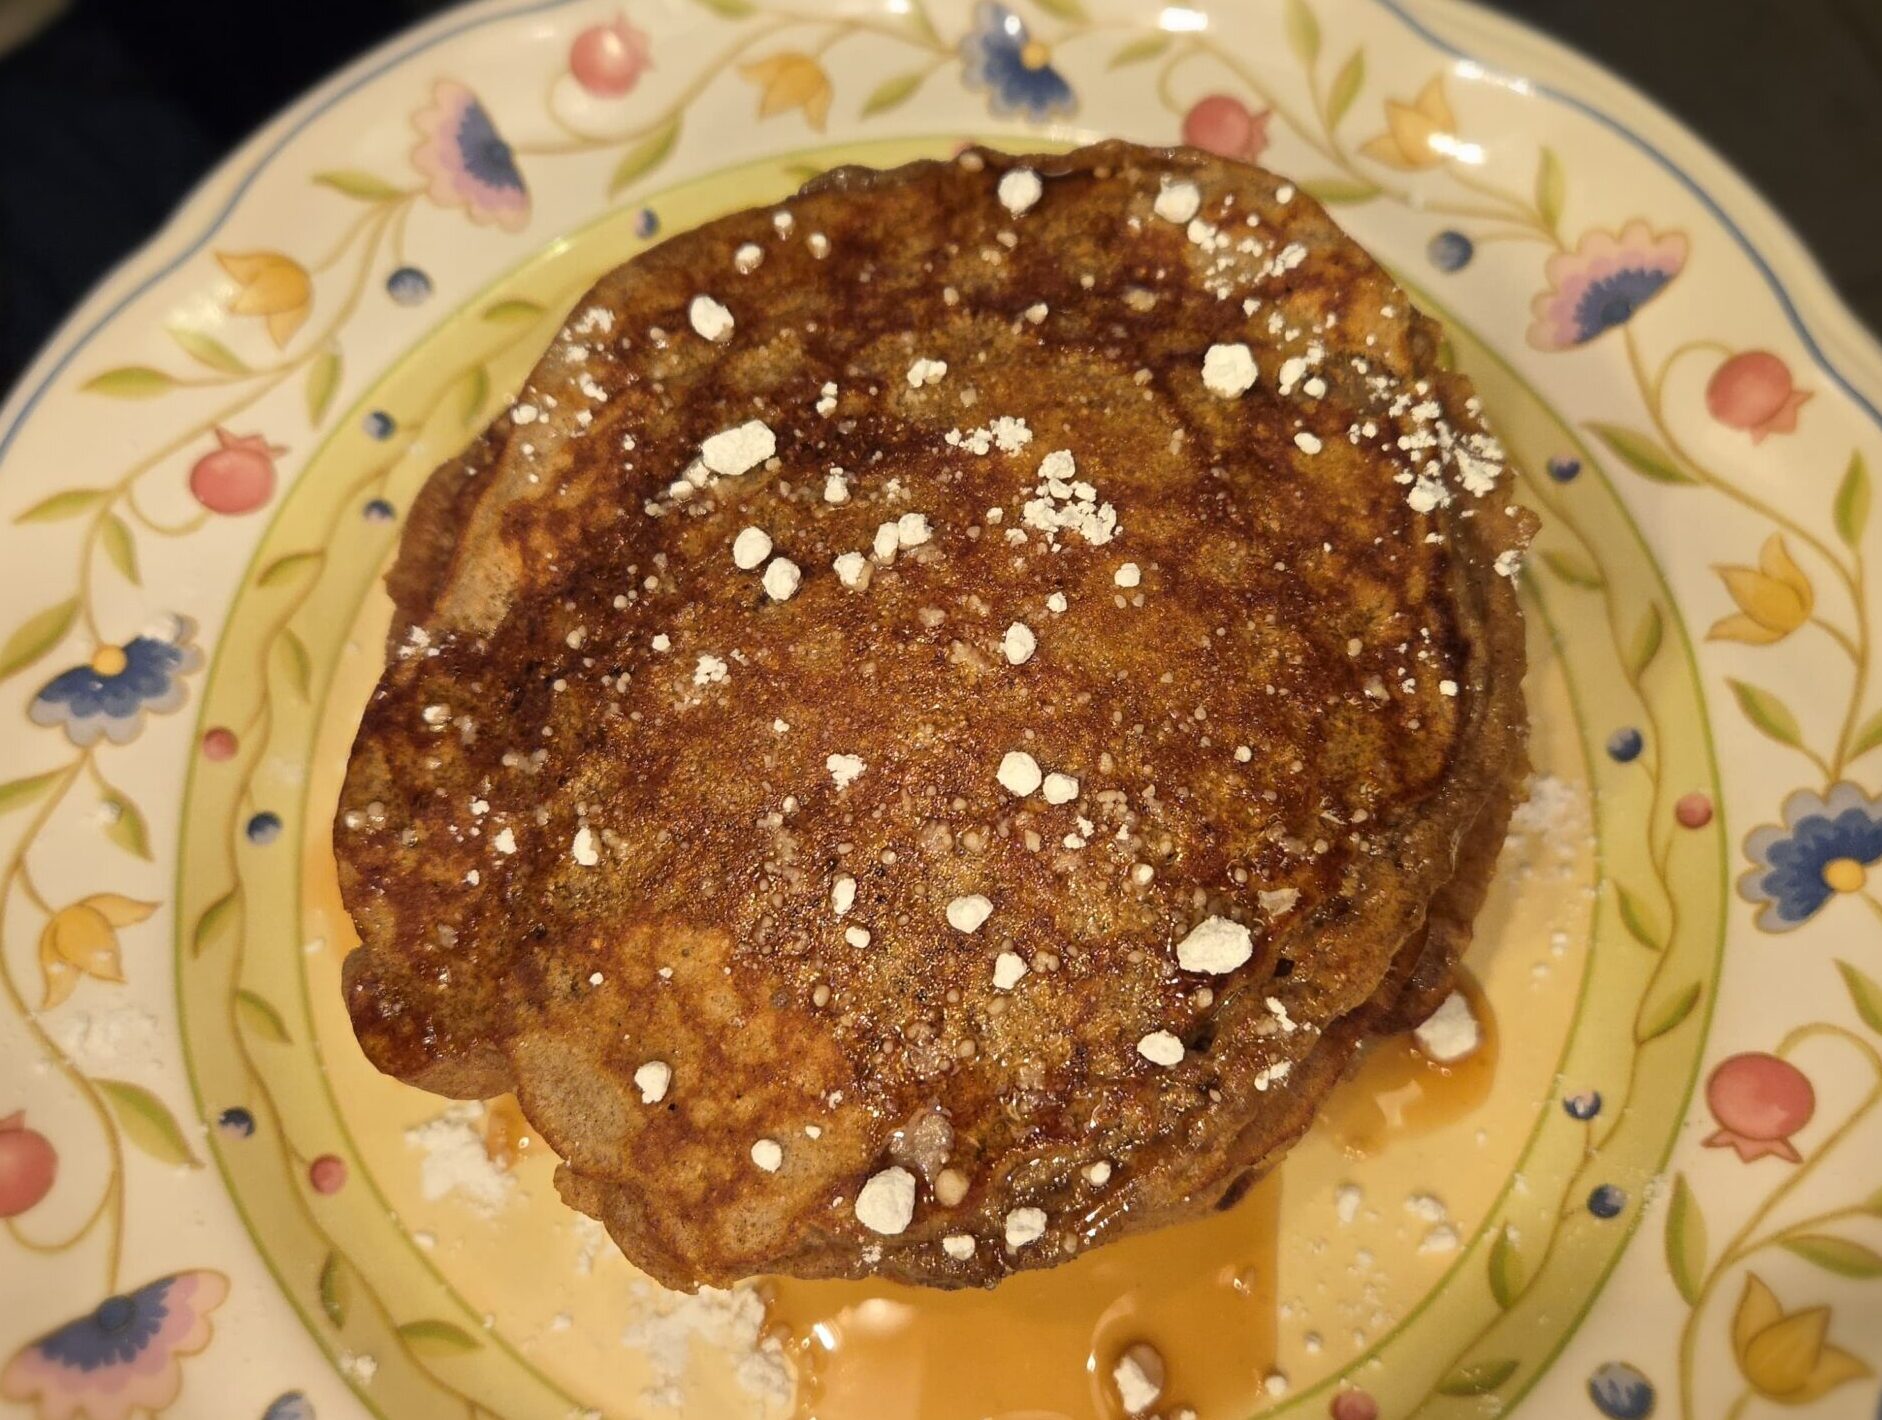
Bananas are some of the most versatile fruits out there. They’re used in so many baking recipes and can even make basic pancake recipes (look it up if you don’t believe me)! So here’s a recipe with a banana flavor profile paired with the nourishing goodness and experience my other pancake recipes share. With appropriate calorie and protein standards, it would make tasty yet filling pancakes that’ll keep you satisfied for hours!
It’s time to monkey around, shall we?

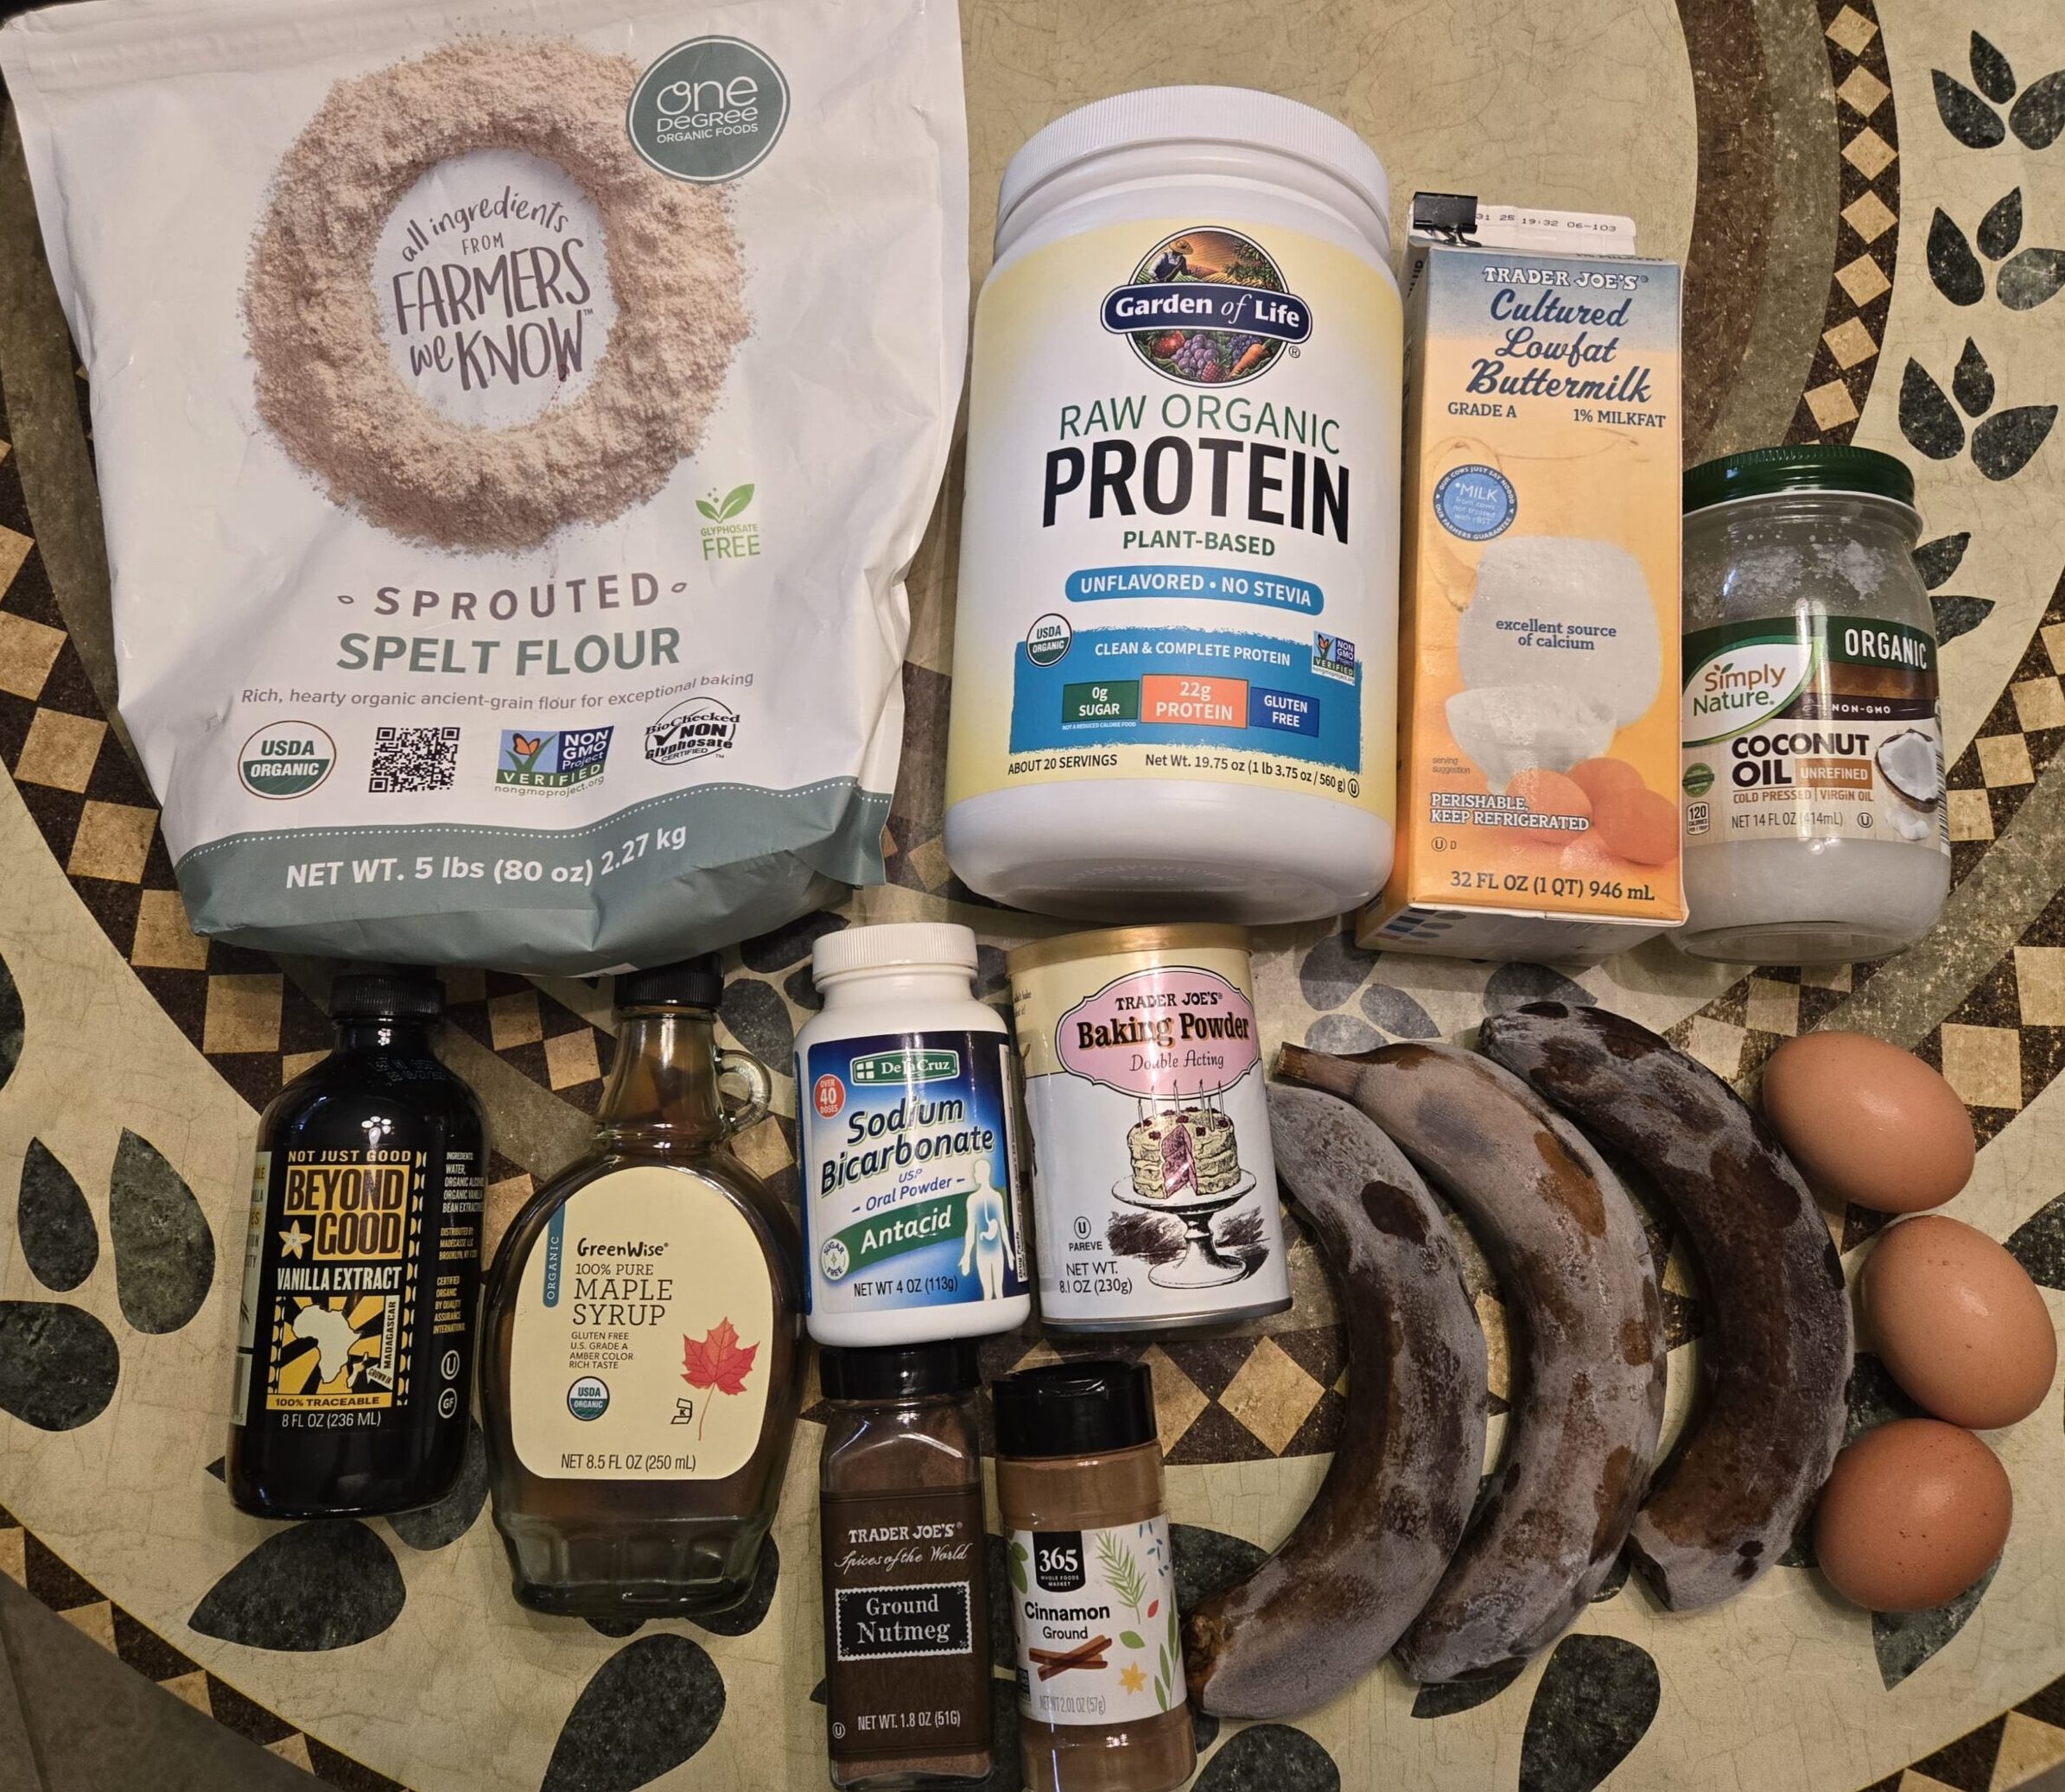
Ingredients
Makes ~16 pancakes.
Base batter
- 250g whole wheat/spelt flour
- 80g (vegan) protein powder
- 1 tbsp (14g) baking powder
- 1.5 tsp (9g) baking soda
- 1 tsp (2.5g) cinnamon (optional)
- ¼ tsp (0.6g) nutmeg (optional)
- ½ tsp (3g) fine salt
- 3 medium bananas, peeled (~300g banana puree)
- 3 eggs
- 2 tbsp (30ml, 28g) coconut/neutral oil
- 2.5 tbsp (50g) maple syrup/honey
- 2 tsp (8g) vanilla extract
- 470mL buttermilk
- Cooking fat of choice, see note below
Cooking fat note
Here are your options:
- For fried-like surfaces: (about ½ tsp or 2g per pancake)
- Favorite: Butter (ideally salted & grass-fed)
- Any neutral oil
- For picture-perfect uniform surfaces:
- Cooking spray
Required Utensils
Chances are that you already have most of what’s listed below. But as a student, I used to have basically nothing at hand, so all necessary items are listed below:
- Medium pot, to hold all dry ingredients (and then batter)
- Small pot, to hold all wet ingredients
- Weight scale, to measure ingredients (in grams)
- Or use measuring cups if handy
- Measuring spoons (at least for teaspoon measurement)
- Blender (if you don’t want the banana to be chunky)
- Whisk, for initial mixing (can use spoon instead, but might take longer)
- Rubber spatula, for final mixing
- Scooping spoon, for accurately pouring batter for cooking (optional)
- Non-stick pan (or flat griddle), to cook the pancakes!
- Flat spatula, for flipping pancakes
- Tray/plate, to hold cooked pancakes!
Instructions
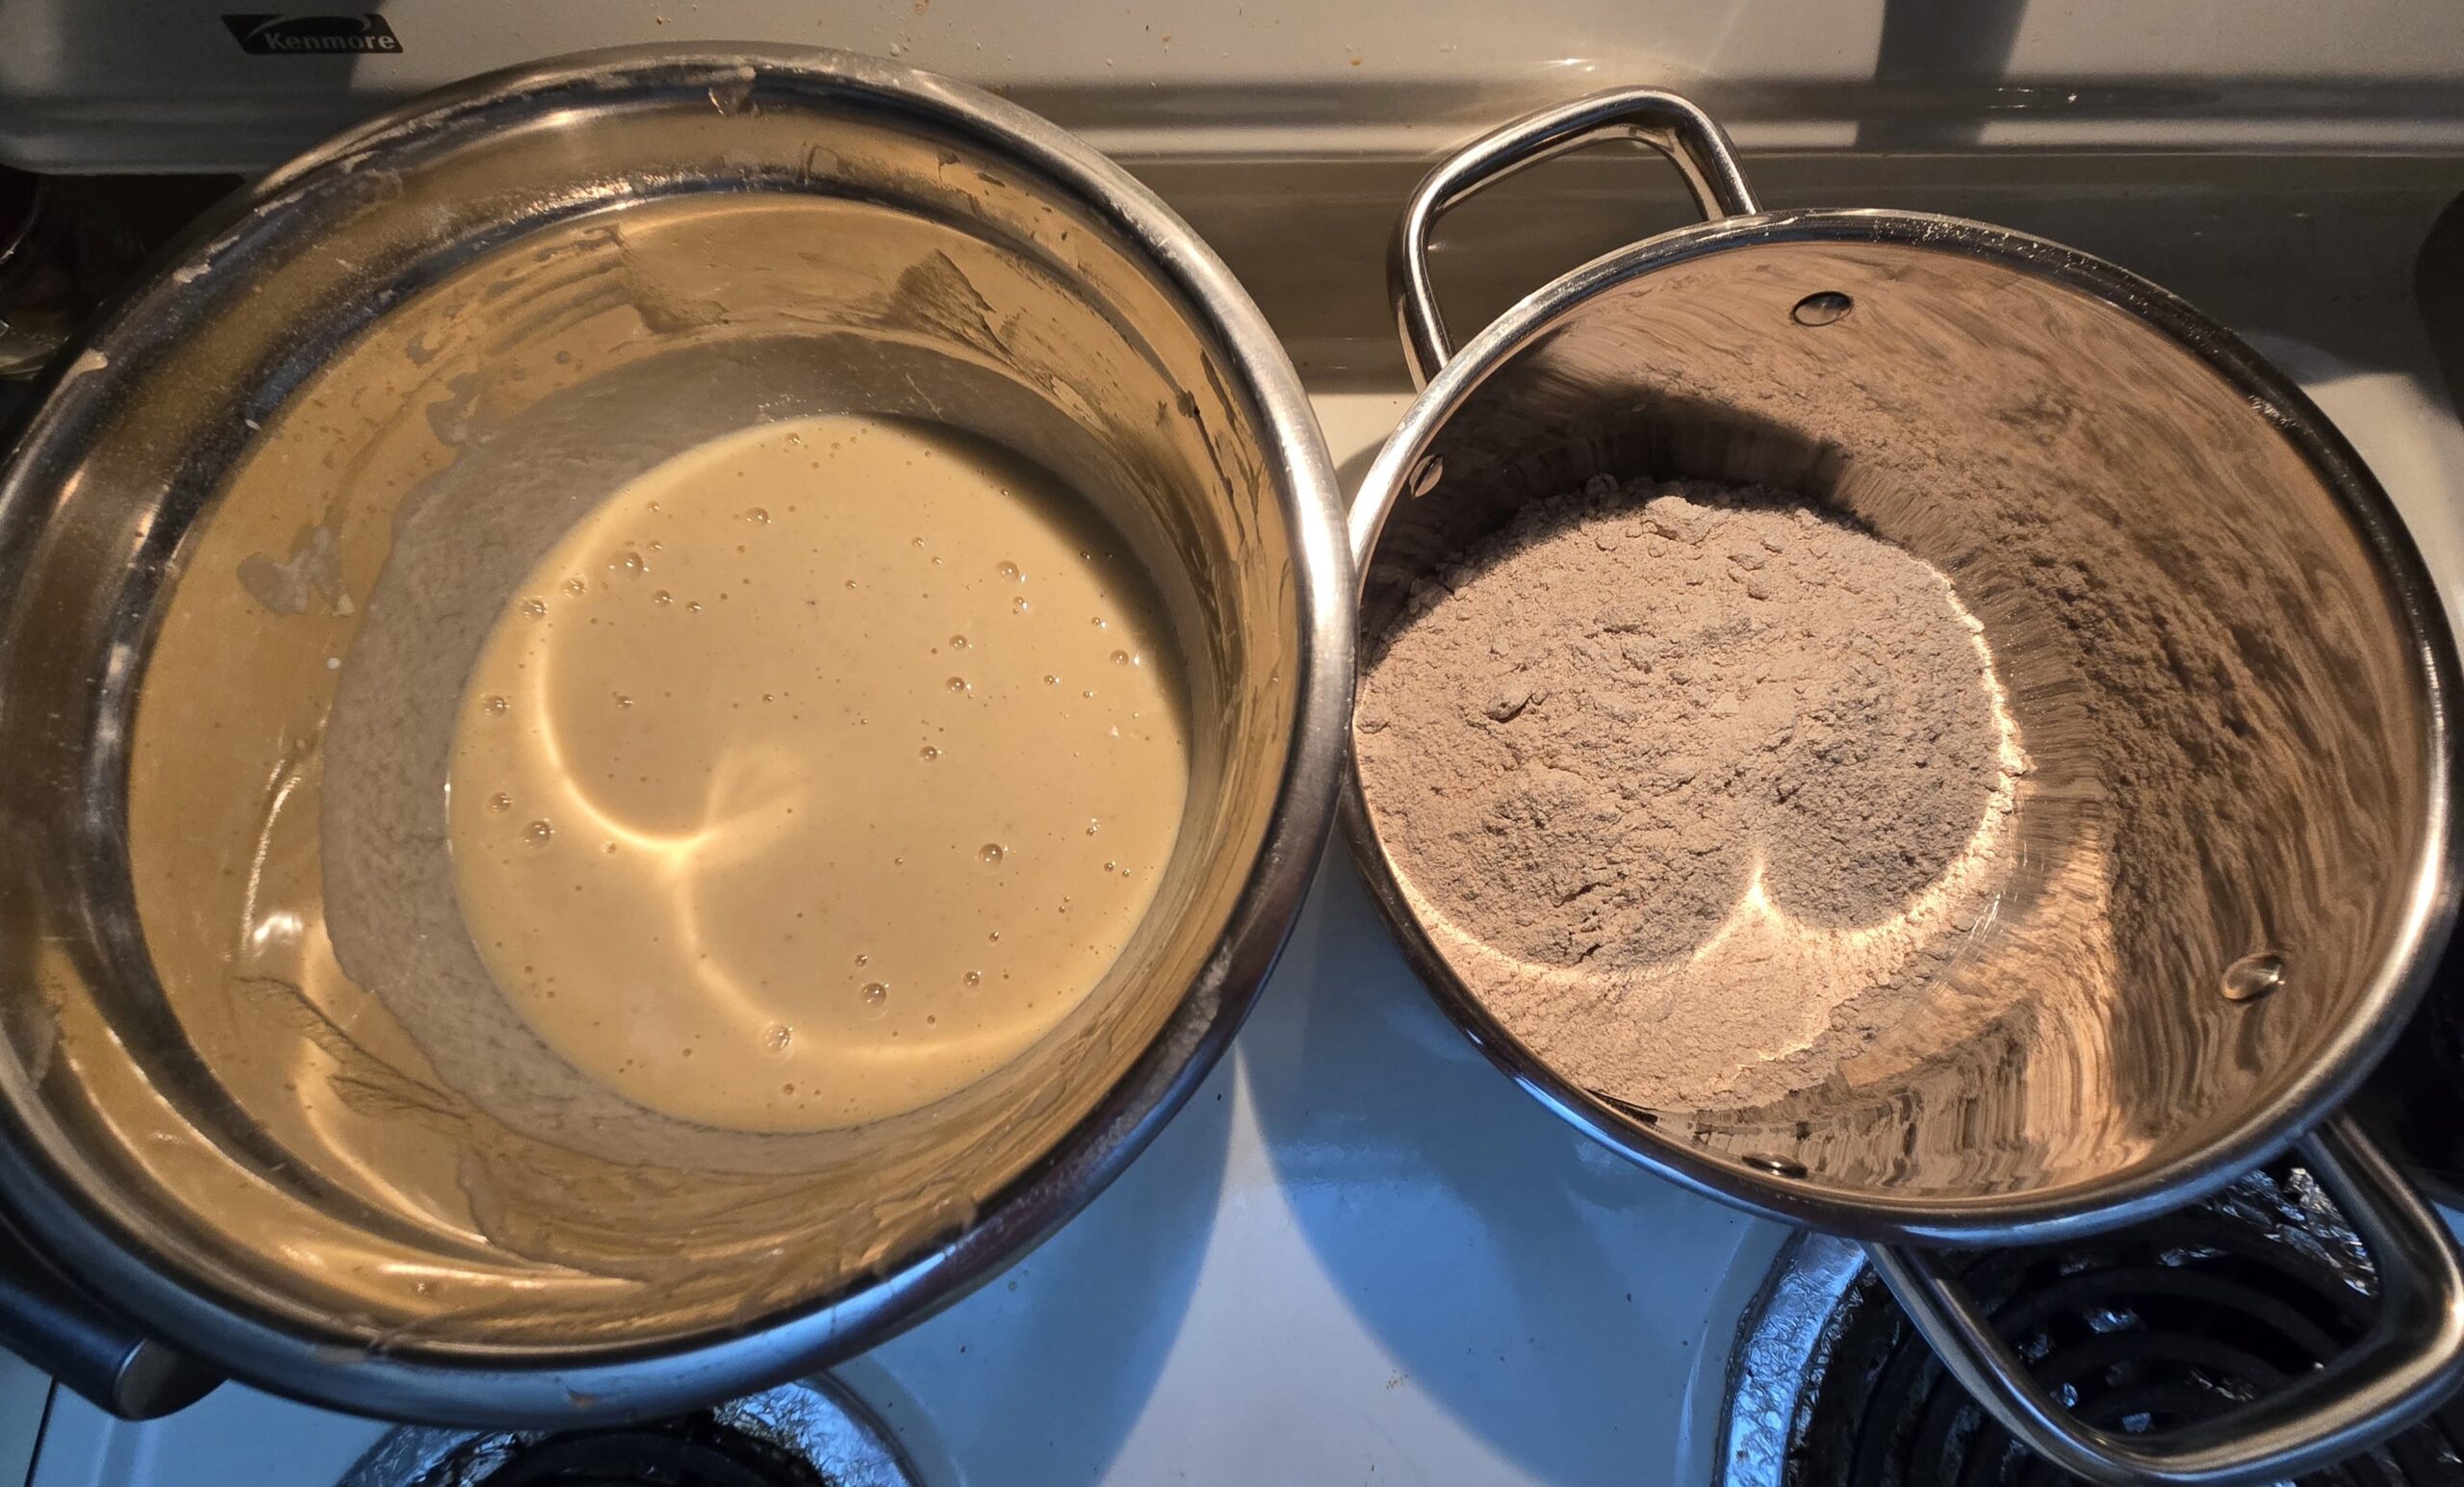
- In medium pot, whisk all dry ingredients till thoroughly combined. Set side.
- Now for the peeled bananas: Either mash them by hand, or use a blender to blend them until smooth.
- In small pot, whisk all wet ingredients (including banana) till thoroughly combined. Set aside.
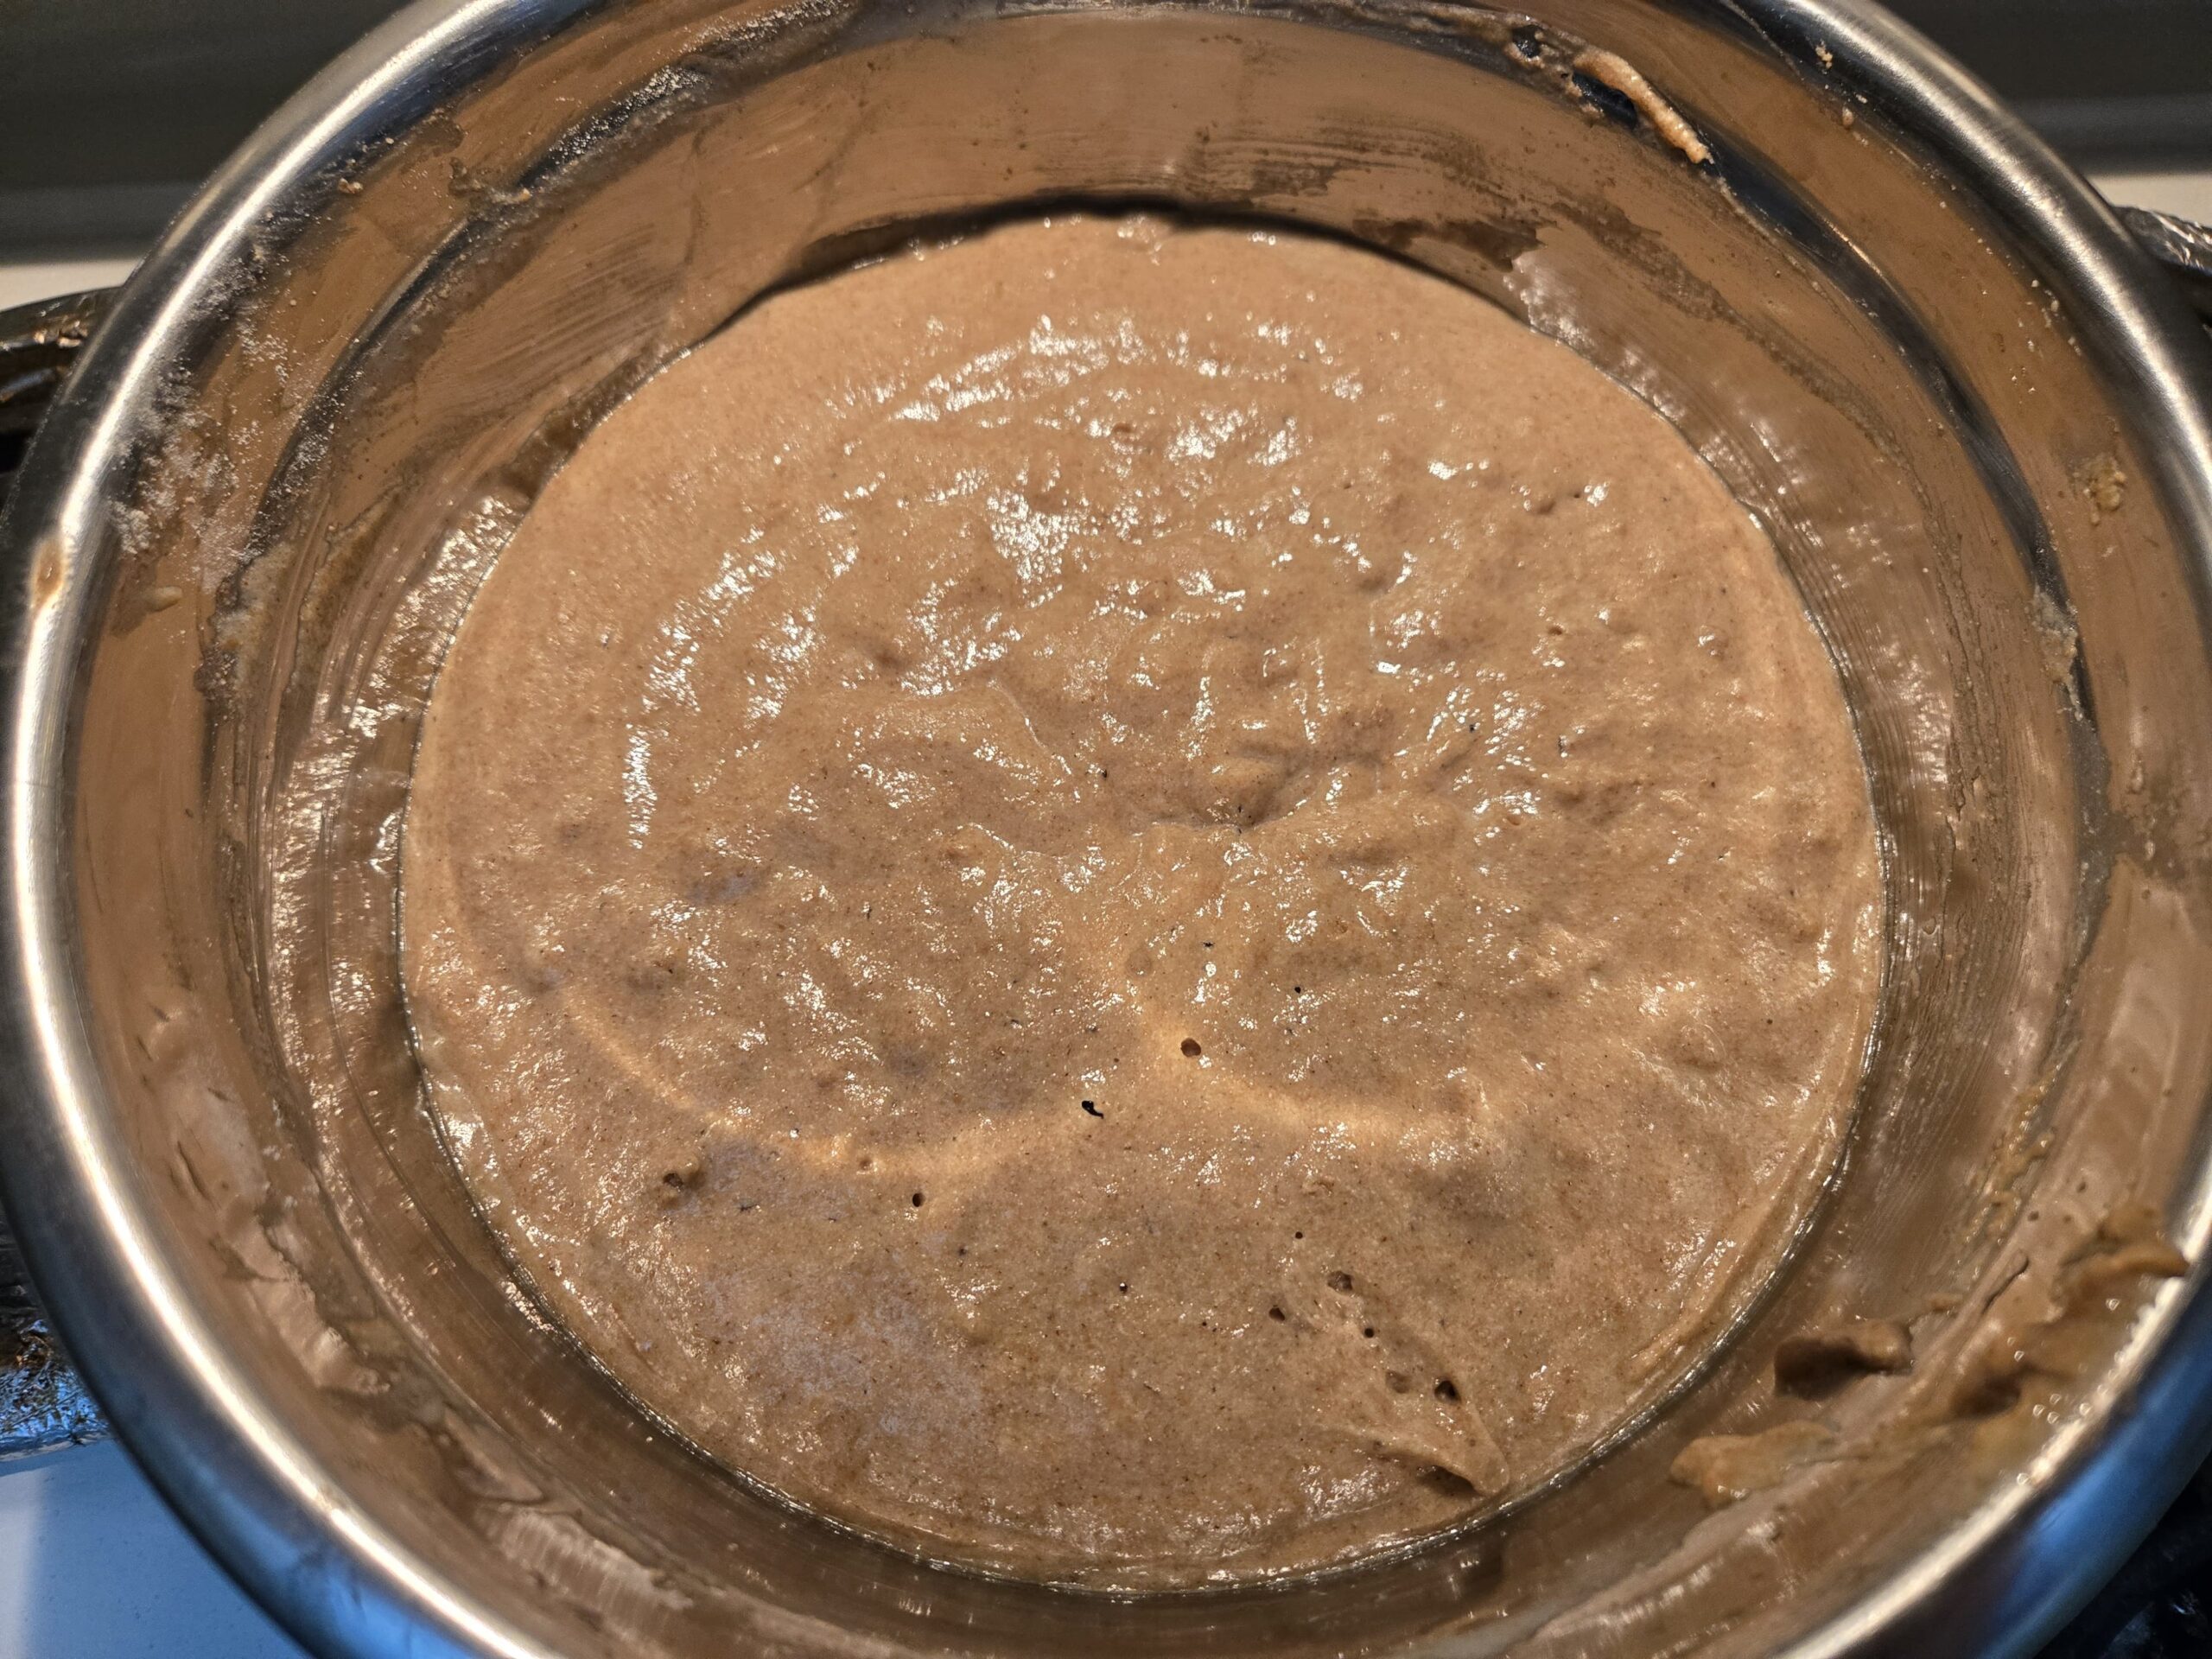
NOTE: If using coconut oil, add in just before combining wet & dry ingredients, to avoid solidification before combining. - Form a well in center of pot with dry ingredients. Pour wet ingredients into dry. Use rubber spatula, stir in wide circular strokes till almost combined. DO NOT over-mix. Small lumps are okay!
- Let batter rest for 10 to 30 minutes at room temp. More time = fluffier pancakes!
During this period:- Gather your pan(s), spatula, and tray/plate to hold cooked pancakes.
- Pre-heat your pan(s) at medium heat and have your cooking fat ready.
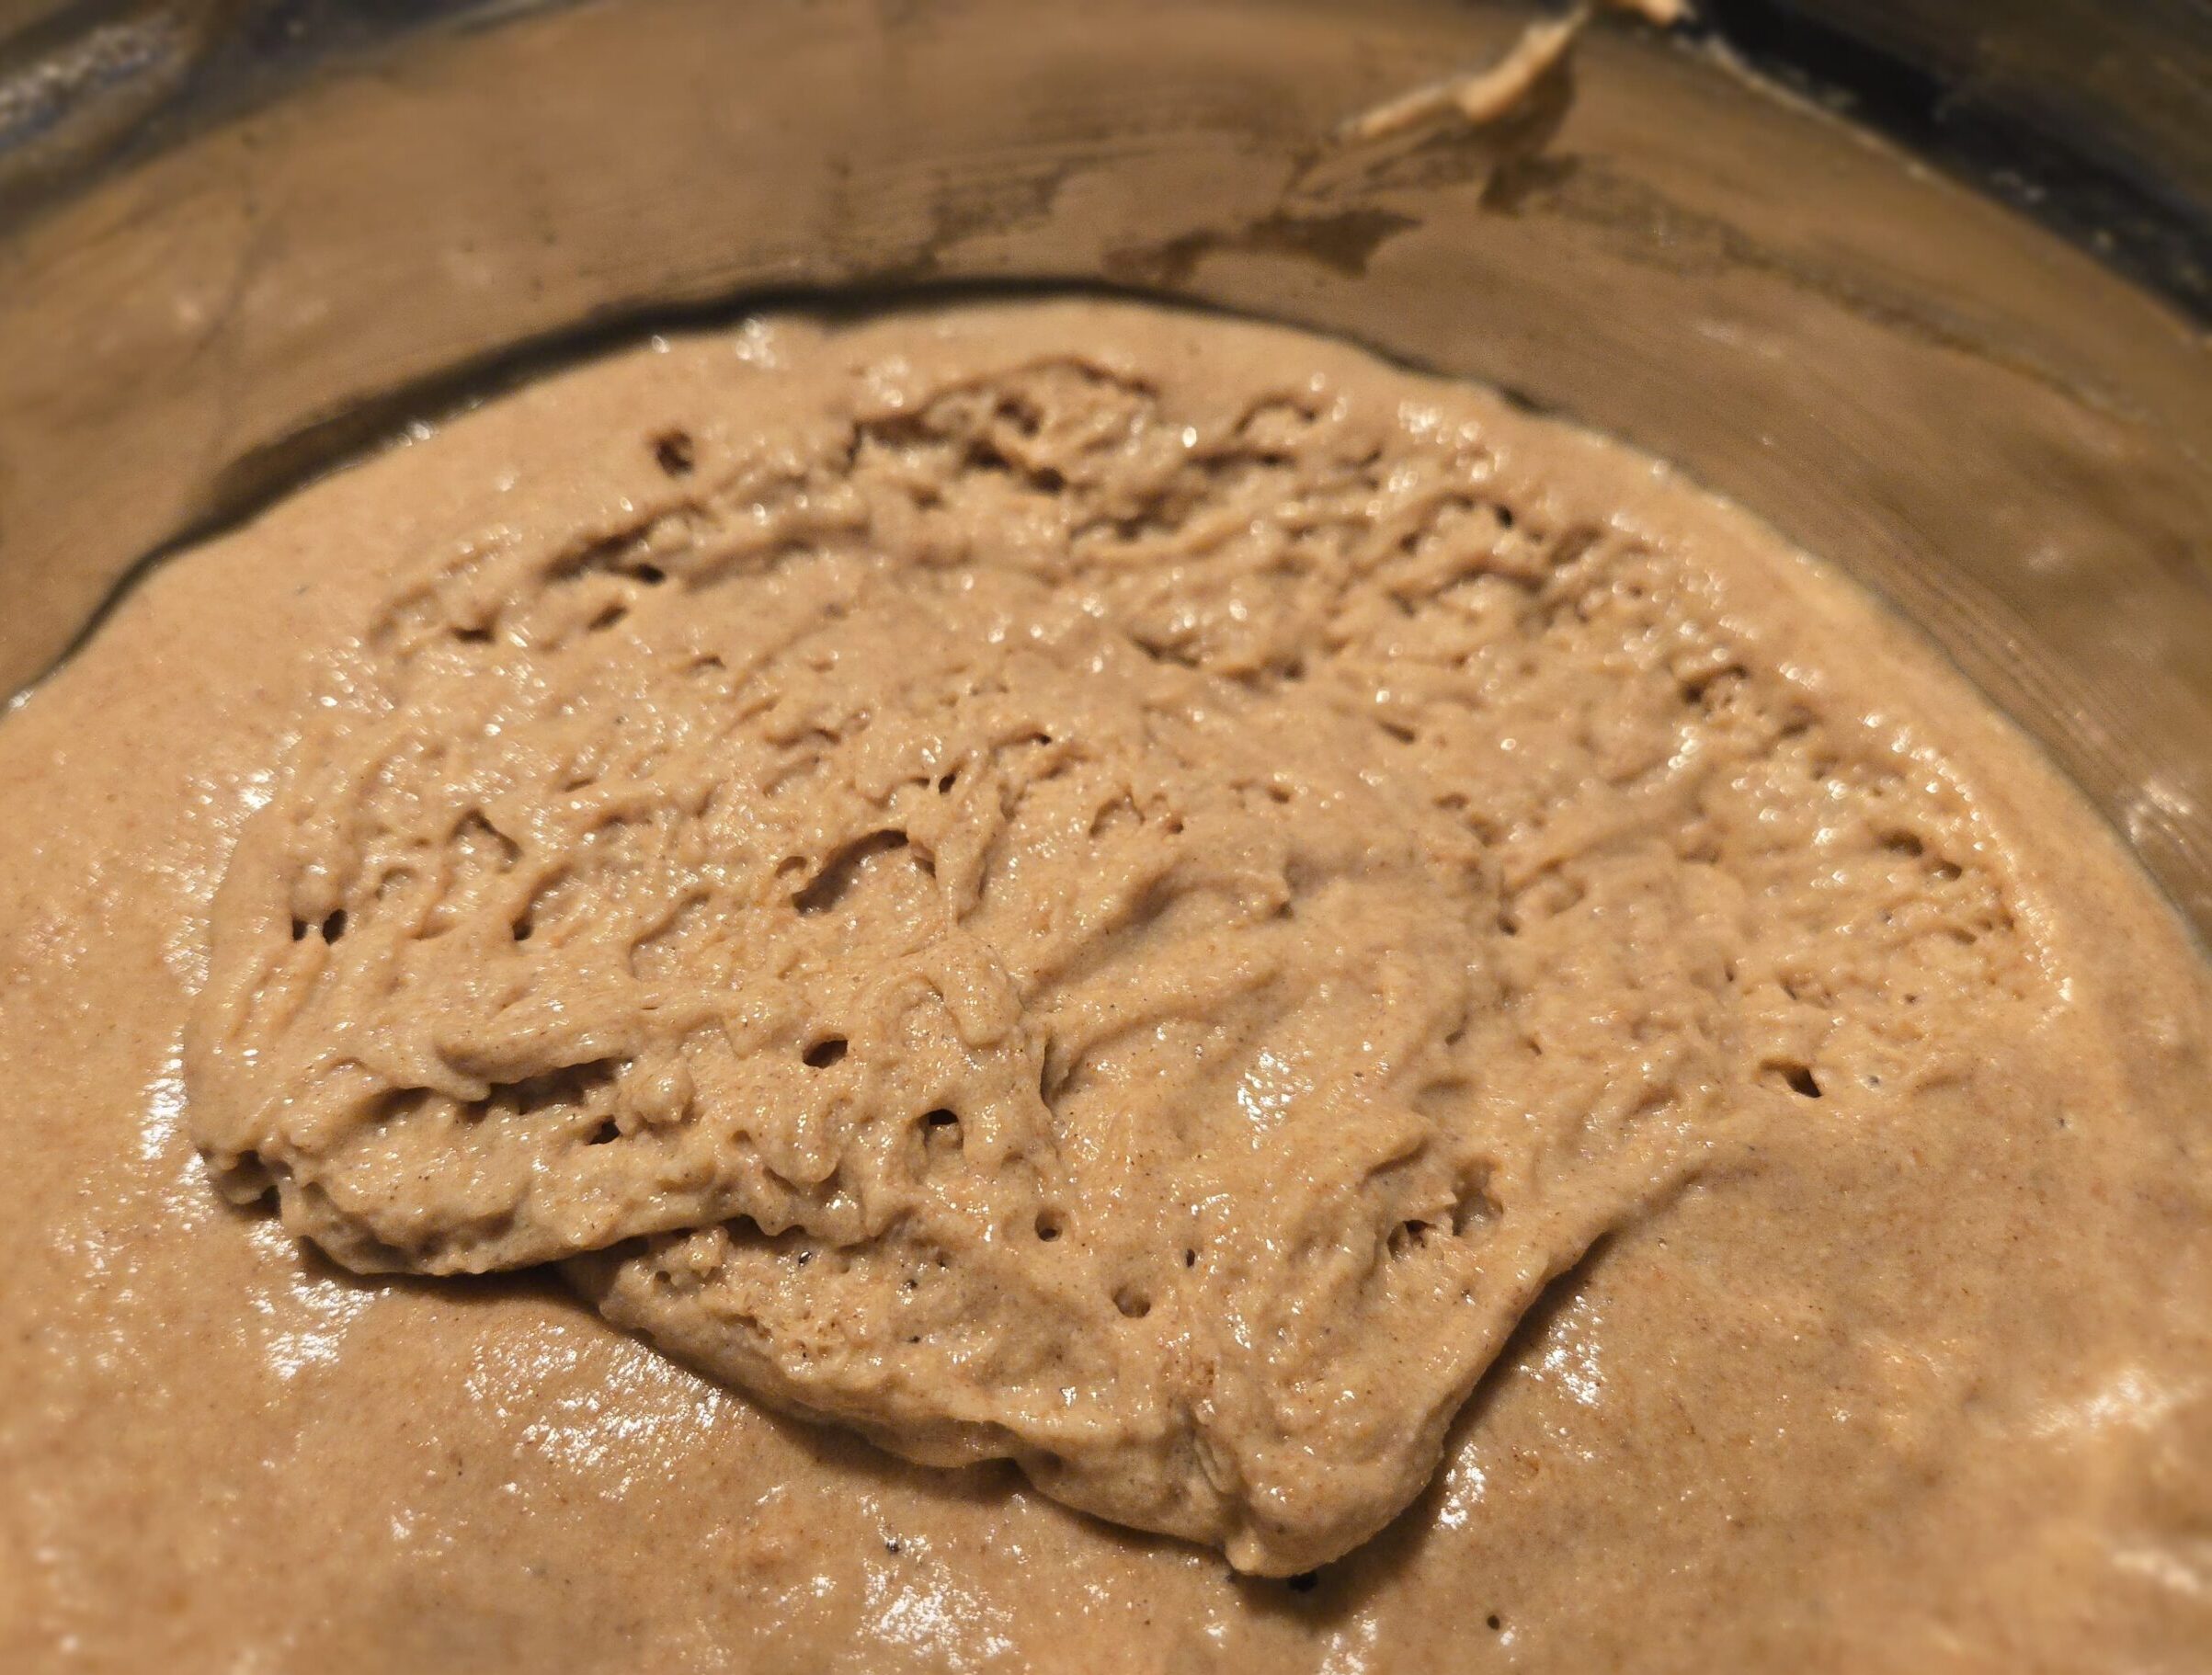
- Once pan(s) are warm (not hot), add fat to pan center, and add just under ¼ cup (60ml) batter to center. If using toppings (also see note below), add them now, clustered on surface, away from edges.
- Cook for 2-3 min, until bubbles begin to pop on top and edges are firming up. Flip pancake and cook for another 2-3 min till golden brown. Remove from pan.
- Repeat steps 6 & 7 with remaining batter. Enjoy!
A note on toppings
Here are the toppings I’ve tested, but feel free to experiment with whatever catches your eye!
- Berries:
- Blueberries (my favorite)
- Blackberries
- Raspberries
- Sliced strawberries (not recommended; they lose much of their mass & flavor during cooking)
- Chocolate chunks (dark, milk, and white all worked great)
Make sure the topping chunks are not too large (<1 inch, or 2.5 cm in diameter), for the following reasons:
- To make sure the pancakes rise over them before you flip (otherwise they may burn later)
- To reduce the risk of them sticking to the pan after flipping

Serving
To pour on
- Maple syrup
- Honey
- Pancake syrup of choice
To spread on
- Any nut butter (ideally salted): almond, cashew, mixed nut, peanut, etc.
To top off
- Sliced raw/caramelized banana
- Crumbled brown sugar
- Walnuts/pecans (whole or chopped)
- Whipped cream
- Butter
- Powdered cinnamon and/or nutmeg
Storage
Packaging of choice
- Ideal for fridge: Plastic/glass air-tight containers
- Ideal for freezer: Wrapping 1-4 pancakes in plastic wrap or aluminum foil, then place in air-tight plastic bag
Shelf life
- Fridge: 5 days
- Freezer: 3-6 months (best quality, assuming temp below 0°F/-18°C)
Got any questions or suggestions? Comment down below!
First posted on April 8, 2025.
Last updated on April 8, 2025.